Construction Method & Details
PDF Download: Procedure for manufacturing a standard tubular test cell (1).pdf
Procedure for manufacturing a standard tubular test cell.
Parts List
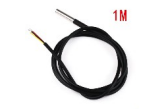
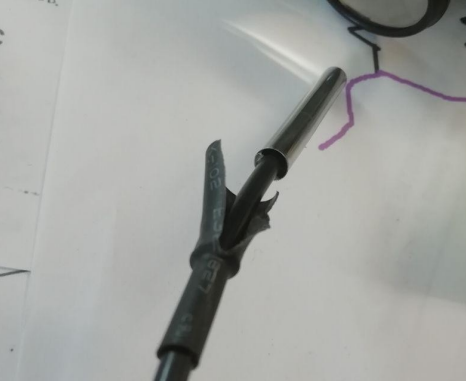
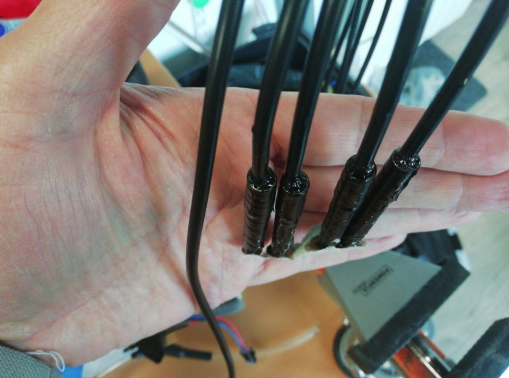
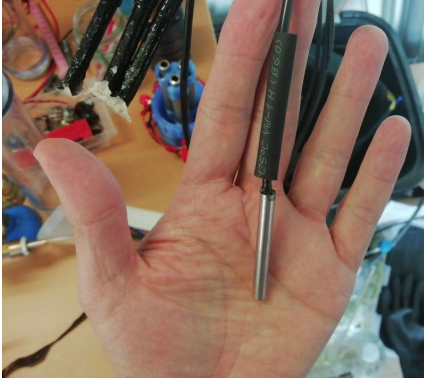
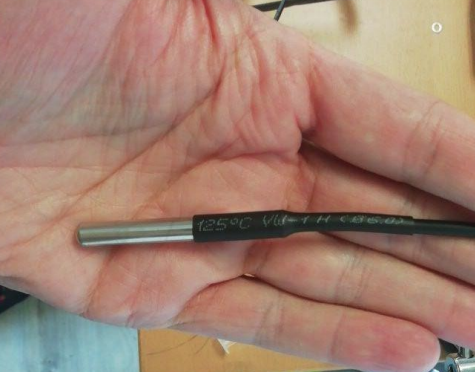
Sealing of the DS18b20 temperature sensor:
The DS18b20 must be sealed with epoxy resin otherwise, the water will leak throw the cable due the pressure inside the cell chamber.
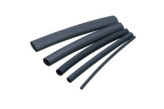
1- Remove the heat shrink tube protection.
2 - Protect the stainless tube with masking tape and pour the tube with epoxy resin.
3 - Once dry, remove the masking tape.
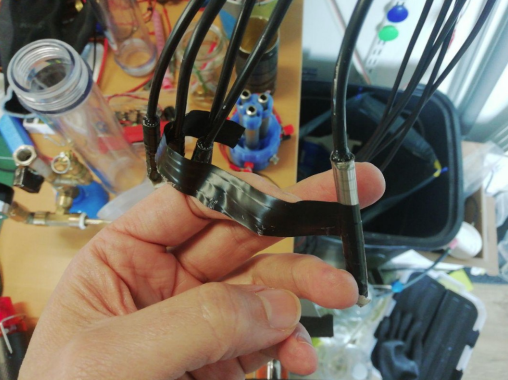
4 – In order to keep it clean replace the heat shrink tube.
5 – The DS18b20 is now ready to be used in a pressurized vessel.
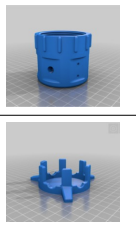
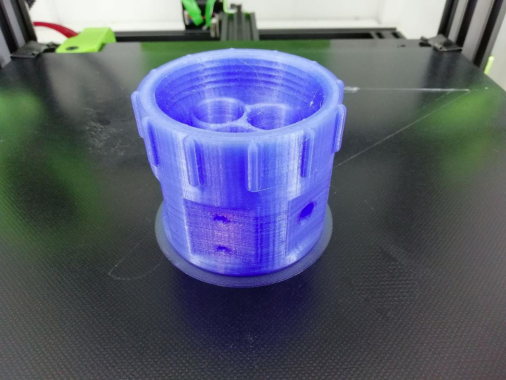
T33 Bottom waterproofing:
In order to resist to the pressure and avoiding leaks, the bottom need to be filled with epoxy.
The printing wall thickness needs to be 5 walls in order to get a strong threaded part.
It needs only one 1st layer because it will be removed later. (But at least 1 layer for bed adhesion
purpose). To improve bed adhesion, print with an additional skirt.
1 - Print the bottom.
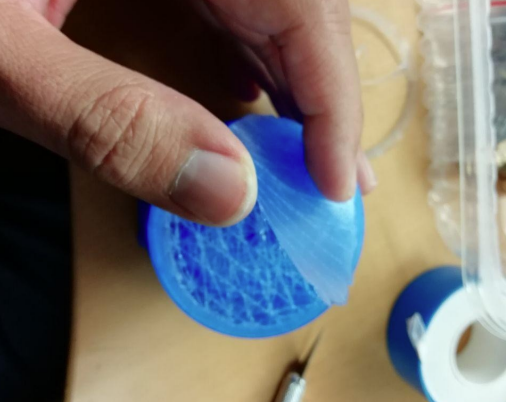
This type of infill is not necessary. Any kind of infill will allow epoxy to flow and pour the part.
2 – Remove the bottom layer.
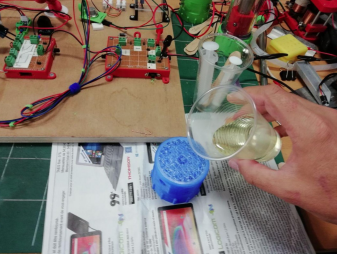
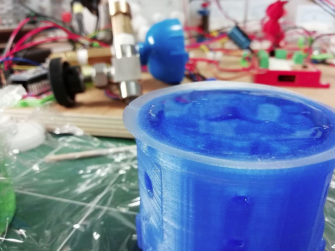
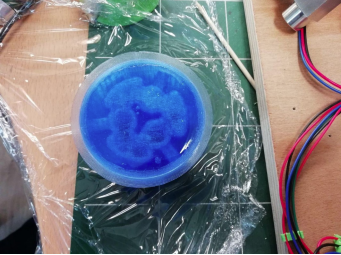
3 – Pour the cap with epoxy resin.
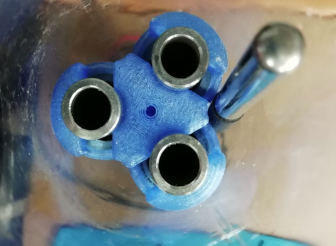
4 – Take care that the epoxy doesn't leak through the holes. In some cases, it will be useful to plug the orifices with silicone which can then be removed.
5 – Allow it to harden completely before attempting to use it.
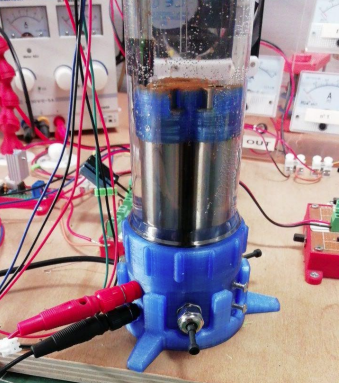
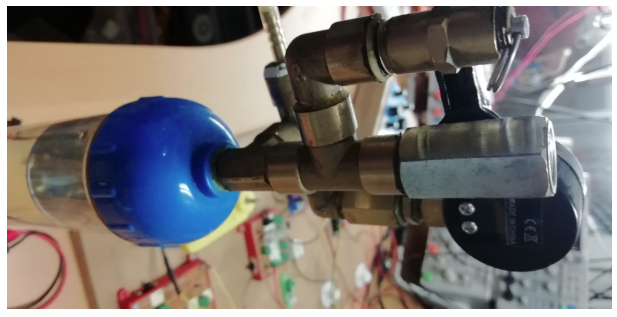
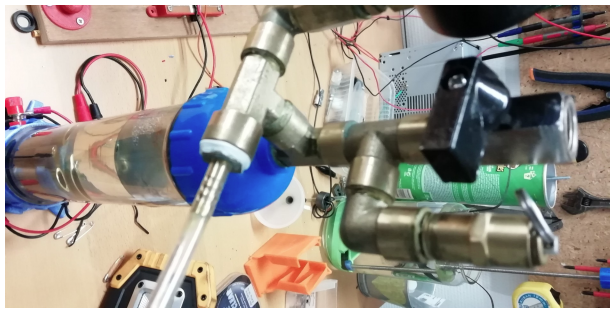
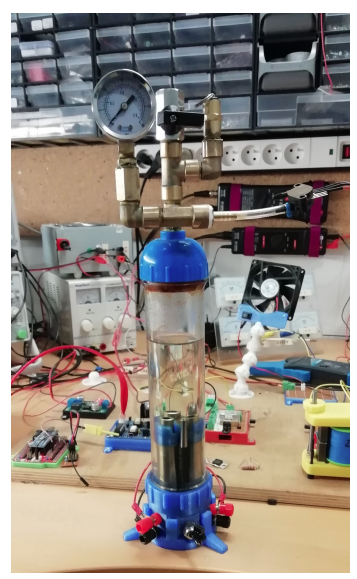
6 – Install the different connections and fittings.
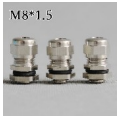
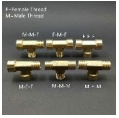
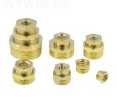
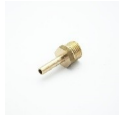
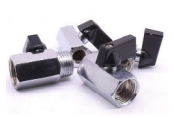
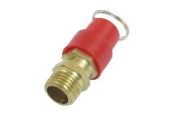
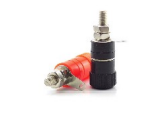
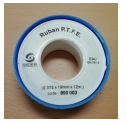
There’s many way to connect each components, here is an example of the parts I used:
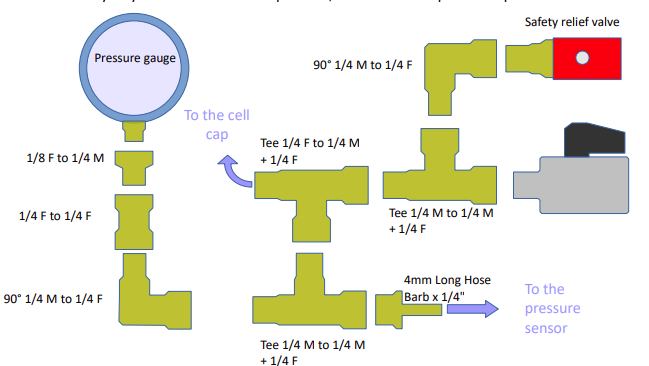 |
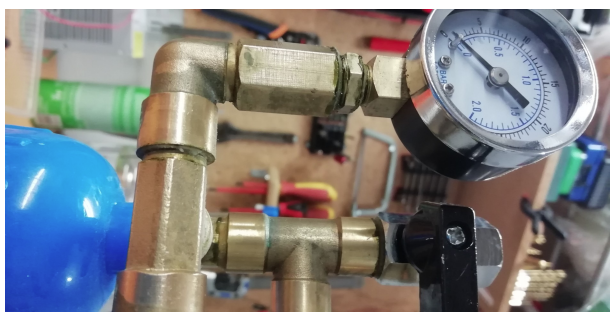 |
 |
 |
 |

