Construction Method & Details
PDF Download: Procedure for manufacturing a standard tubular test cell (1).pdf
Procedure for manufacturing a standard tubular test cell.
Parts List
| T33 Water Filter Cartridge Housing | ||
| Waterproof cable gland M8*1.5. | 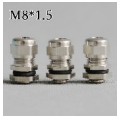 |
|
| Optional Nylon Pneumatic Blanking Plug 4mm Hose Tube Push Fit Connector Air Line |
 |
|
| MPX5500DP PACKAGING SIP 6 pressure sensor. | 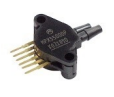 |
|
| 6*4mm polyurethane pneumatic hose . | 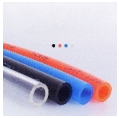 |
|
| Various 1/4" BSP Thread Tee Type 3 Way Brass Pipe Fitting | 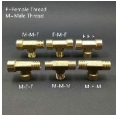 |
|
| Brass Hex Bushing Reducer Pipe Fitting 1/8” –> 1/4” | 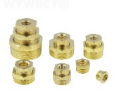 |
|
| 4mm Long Hose Barb x 1/4" Male BSP Thread Brass Barbed Pipe Fitting | 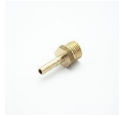 |
|
| 0~30psi 0~2bar 40 Diameter Fuel Air Compressor Low Pressure Meter. |  |
|
| 1/4" mini brass ball valve BSP male to female. | 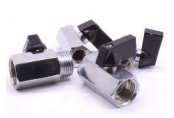 |
|
| 1/4'' 8KG BSP Air Compressor Safety Release Valve Pressure Relief | 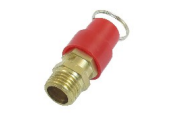 |
|
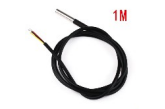
| DS18b20 Stainless steel package Waterproof (These will have to be adapted to improve waterproofing see below) |
 |
|
| Heat shrink tube | 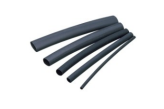 |
|
| 4mm Banana Plugs Socket Connector | 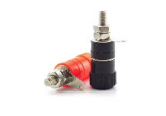 |
|
| Thread sealant | 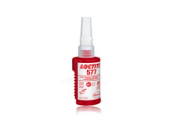 |
|
| Teflon tape | 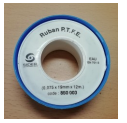 |
|
| Epoxy resin. |
|
|
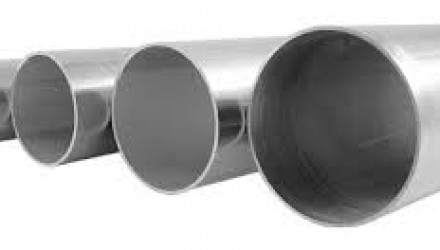
| Stainless steel tube 304L or 316L: Outer tube 16x2mm or 14x1mm ; 100mm length. Inner tube or rod ext diameter 10mm ; 110mm length. The goal is to get a 1 mm gap between outer and inner tube. |
 |
|
|
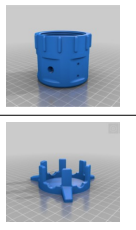
T33 cell : Bottom, Stand and cap spacer |
 |
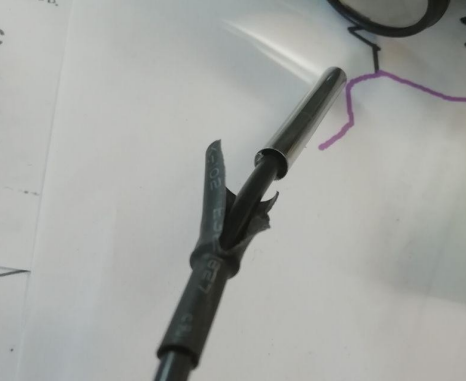
Sealing of the DS18b20 temperature sensor:
The DS18b20 must be sealed with epoxy resin otherwise, the water will leak throw the cable due the pressure inside the cell chamber.
1- Remove the heat shrink tube protection.
2 - Protect the stainless tube with masking tape and pour the tube with epoxy resin.
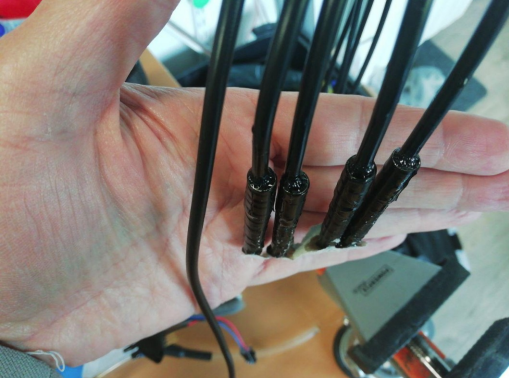
3 - Once dry, remove the masking tape.
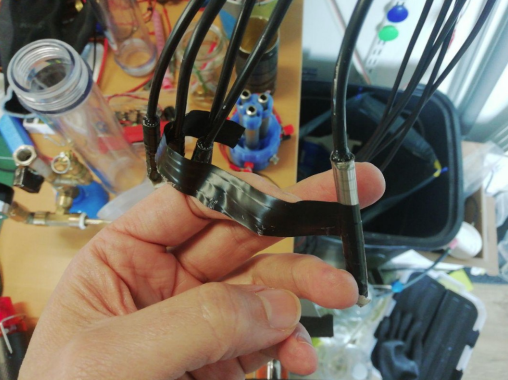
4 – In order to keep it clean replace the heat shrink tube.
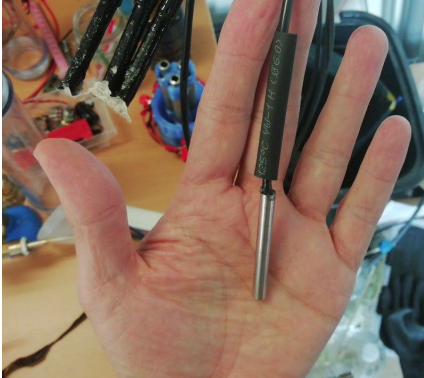
5 – The DS18b20 is now ready to be used in a pressurized vessel.

T33 Bottom waterproofing:
In order to resist to the pressure and avoiding leaks, the bottom need to be filled with epoxy.
The printing wall thickness needs to be 5 walls in order to get a strong threaded part.
It needs only one 1st layer because it will be removed later. (But at least 1 layer for bed adhesion
purpose). To improve bed adhesion, print with an additional skirt.
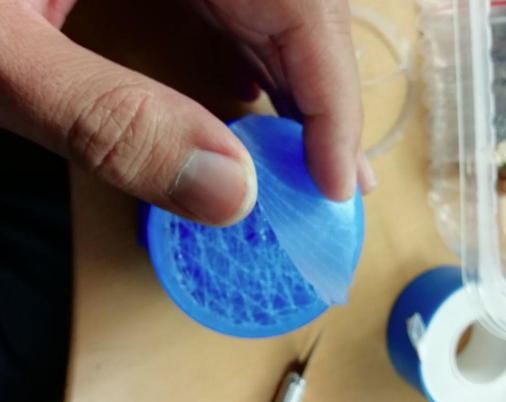
1 - Print the bottom.
This type of infill is not necessary. Any kind of infill will allow epoxy to flow and pour the part.
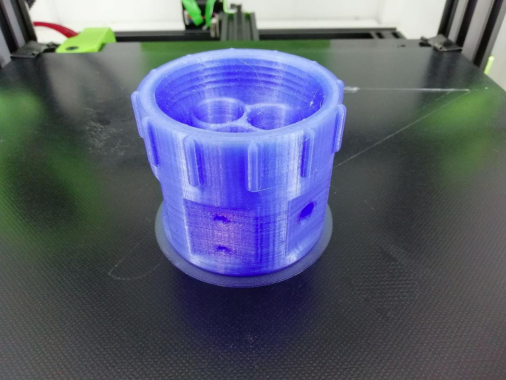
2 – Remove the bottom layer.